Forward Servo Replacement
Forward Servo Replacement (M15 (FWD))Removal Procedure
1. Install the engine support fixture.
2. Raise and support the vehicle. Refer to Vehicle Lifting.
3. Remove the stabilizer shaft.
4. Remove the power steering gear heat shield.
5. Remove the power steering gear from the frame.
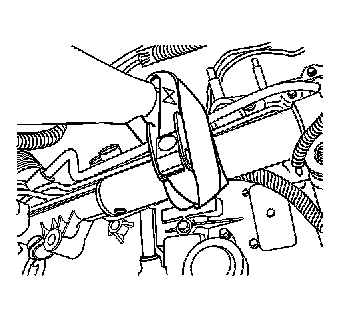
6. Use a strap in order to secure the power steering gear to the exhaust manifold.
7. Remove the power steering cooler line clamps from the frame.
8. Use wire in order to secure the power steering cooler line to an engine component.
9. Remove the engine mount nuts.
10. Remove the transaxle mount nuts.
11. Use a utility stand in order to support the frame front.
12. Use a utility stand in order to support the frame rear.
13. Remove the frame bolts.
14. Use the utility stand in order to lower the frame rear for access to the forward servo cover.
15. Position a drain pan under the forward servo cover.

16. Remove the forward band servo cover bolts.
17. Remove the forward servo cover.
18. Remove the forward servo cover O-ring.
19. Remove the servo piston assembly.
20. Remove the servo spring.
Installation Procedure
1. Install the servo spring.
2. Install the servo piston assembly.
3. Install the forward servo cover O-ring.
4. Install the forward servo cover.
5. Notice: Refer to Fastener Notice in Service Precautions.
Install the forward band servo cover bolts.
Tighten the forward band servo cover bolts to 12 Nm (106 inch lbs.).
6. Remove the drain pan from under the forward servo cover.
7. Important: Ensure that the power steering cooler line does not become trapped or damaged during this step.
Use the utility stand in order to raise the frame rear.
8. Install the NEW frame bolts.
9. Install the powertrain mounts to the frame.
10. Install the transaxle mount nuts.
11. Install the engine mount nuts.
12. Install the power steering gear to the frame.
13. Install the power steering gear heat shield.
14. Install the stabilizer shaft.
15. Lower the vehicle.
16. Remove the engine support fixture.