Dimmer Switch: Service and Repair
INSTRUMENT PANEL (I/P) DIMMER SWITCH REPLACEMENTREMOVAL PROCEDURE
1. Pull the instrument panel (I/P) accessory trim plate rearward slightly for access to the steering column filler. Refer to Trim Plate Replacement - Instrument Panel (I/P) Accessory in Instrument Panel, Gages, and Console.
2. Remove the steering column filler.
3. Tilt the steering wheel to the lowest position.
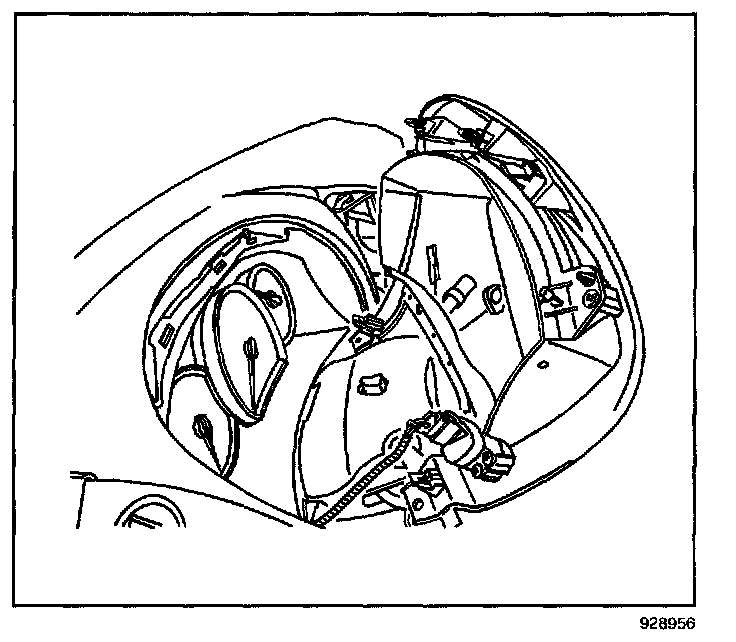
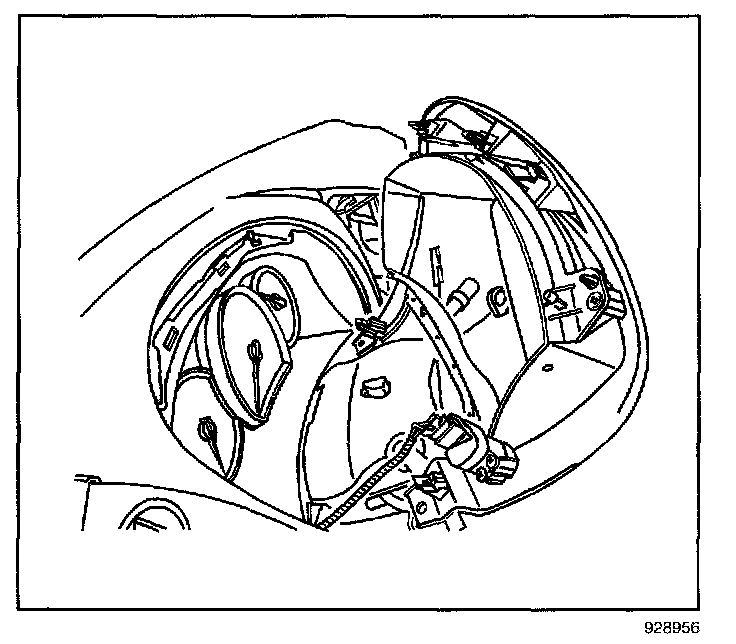
4. Grasp the edge of the I/P cluster trim plate. Pull the plate rearward to disengage the retainers.
5. Disconnect the electrical connector from the dimmer switch.
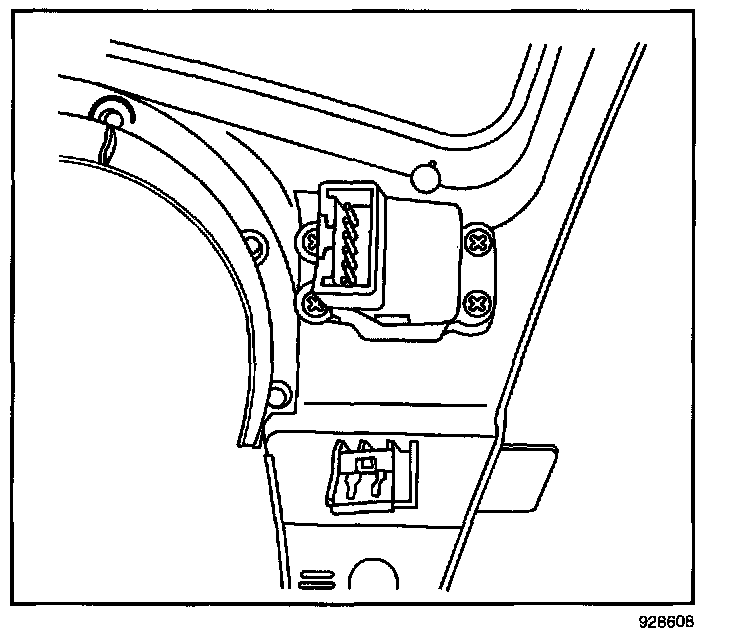
6. Remove the screws from the dimmer switch.

7. Remove the dimmer switch.
INSTALLATION PROCEDURE
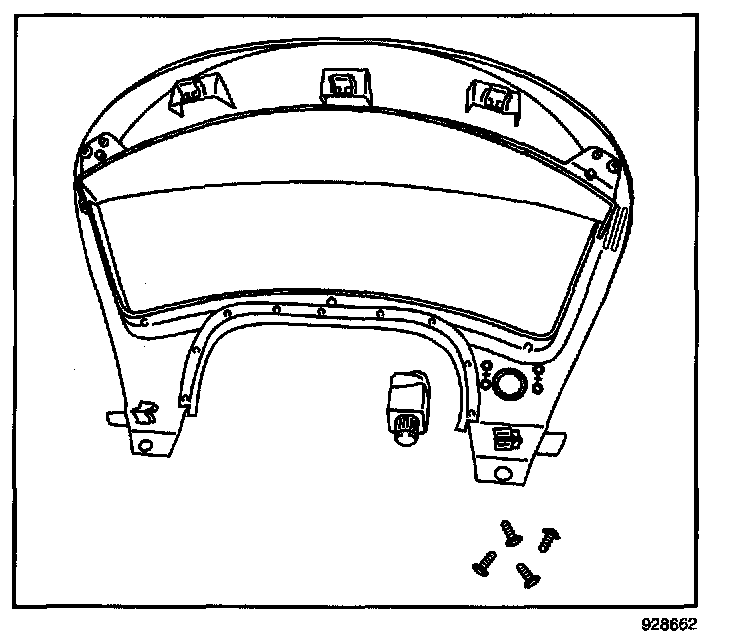
1. Align the dimmer switch to the I/P cluster trim plate.
NOTE: Refer to Fastener Notice in Service Precautions.
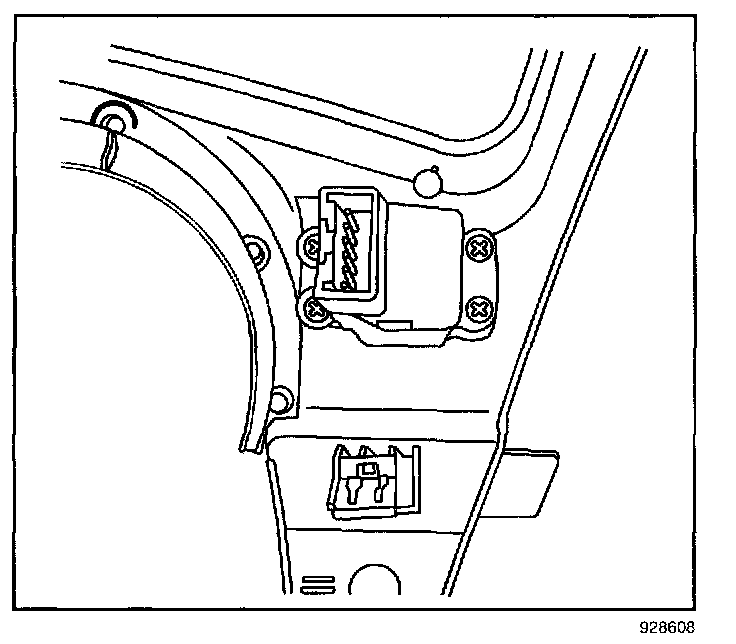
2. Install the dimmer switch screws.
Tighten
Tighten the screws to 2 N m (18 lb.in).
3. Connect the electrical connector to the dimmer switch.
4. Align the locating pins and the retainers on the I/P cluster trim plate to the openings in the I/P.
5. Push in the trim plate at each of the retainer locations Completely engage the retainers.
6. Return the steering wheel to the original position.
7. Install the steering column filler.
8. Install the I/P accessory trim plate.