Console Trim Panel Replacement - Right
CONSOLE TRIM PANEL REPLACEMENT - RIGHT
REMOVAL PROCEDURE
1. Position the front seats rearward.

2. Remove the center trim panel by pulling outward.
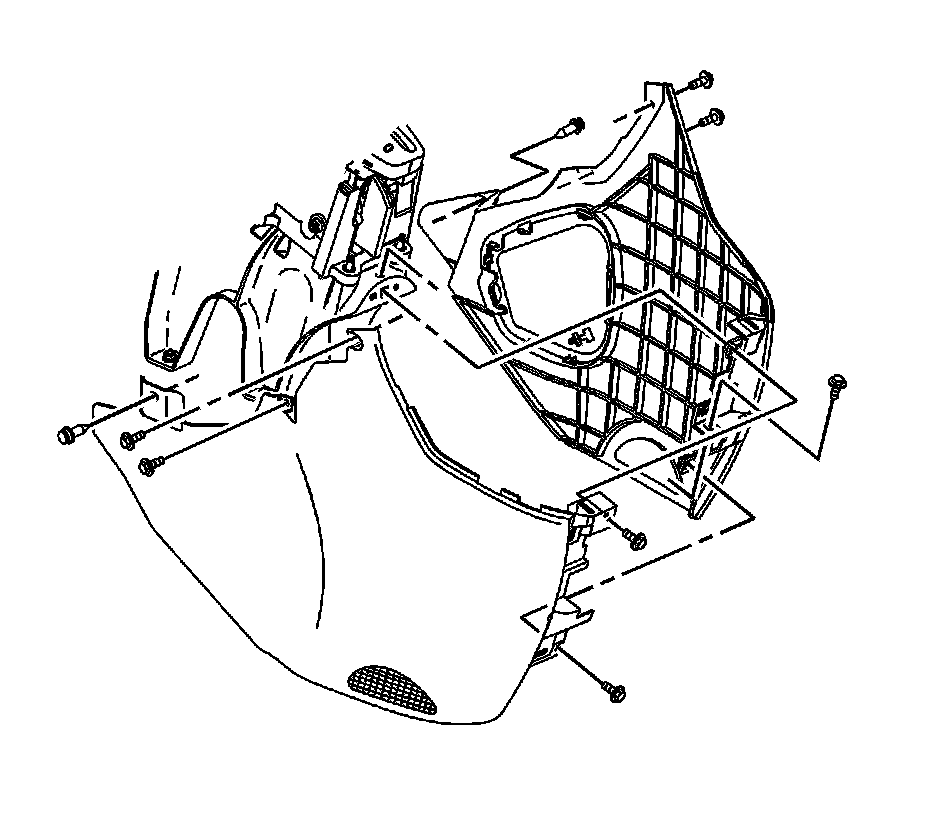
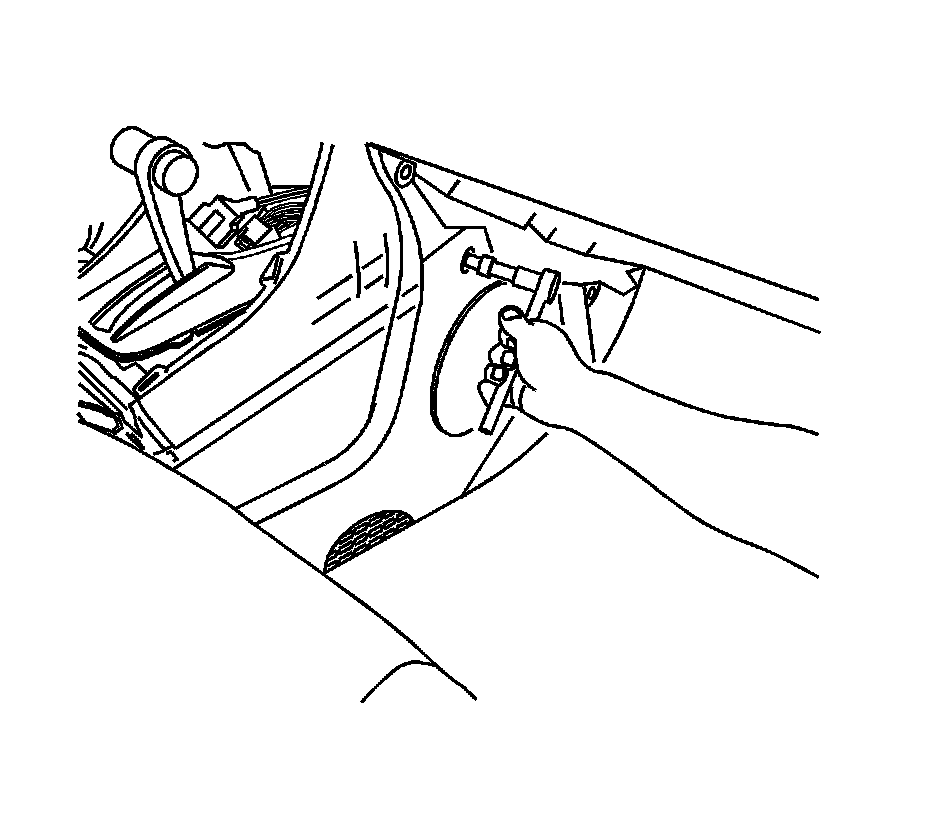
3. Remove the screws from the right console trim panel.

4. Remove the push-in fastener from the trim panel.
5. Remove the trim panel from the vehicle.
INSTALLATION PROCEDURE
1. Position the right console trim panel.
2. Install the push-in fastener.
3. Install the screws to the right console trim panel.
NOTE: Refer to Fastener Notice in Service Precautions.
Tighten the screws to 2.5 N.m (22 lb in).
4. Position the center trim plate to the front console.
5. Push until the trim clips engage.
6. Connect the electrical connectors to the center trim panel.
7. Snap the center trim panel into place.
8. Position the front seat forward to the original position.