Side Window Defogger Outlet Duct Replacement - Right Side
Side Window Defogger Outlet Duct Replacement - Right Side
Removal Procedure
1. Remove the instrument panel (I/P) upper trim panel.
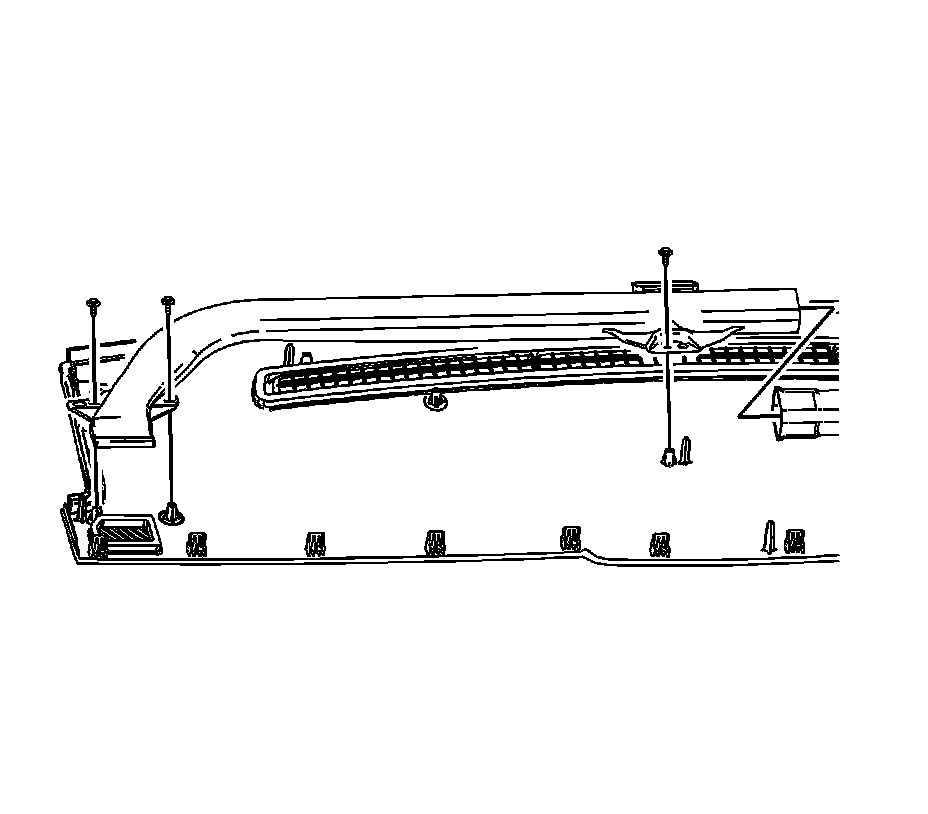
2. Remove the RH defogger duct screws from the I/P upper trim panel.
3. Remove the RH defogger duct from the I/P upper trim panel.
Installation Procedure
1. Inspect the seals, and replace if damaged, using Kent Industries adhesive backed foam tape P/N 46485 or equivalent.
2. Install the RH defogger duct to the I/P upper trim panel.
Notice: Refer to Fastener Notice.
3. Install the RH defogger duct screws to the I/P upper trim panel.
Tighten the screws to 1 N.m (9 lb in).
4. Install the instrument panel upper trim panel.