Engine Control Module: Service and Repair
Powertrain Control Module Replacement
Removal Procedure
Warning: Refer to Battery Disconnect Warning (Service Precautions).
1. Disconnect cable from battery negative terminal. Refer to Battery Negative Cable Disconnection and Connection (Service and Repair)
2. Remove the engine cover sub-assembly. Refer to Engine Cover Replacement (Service and Repair)
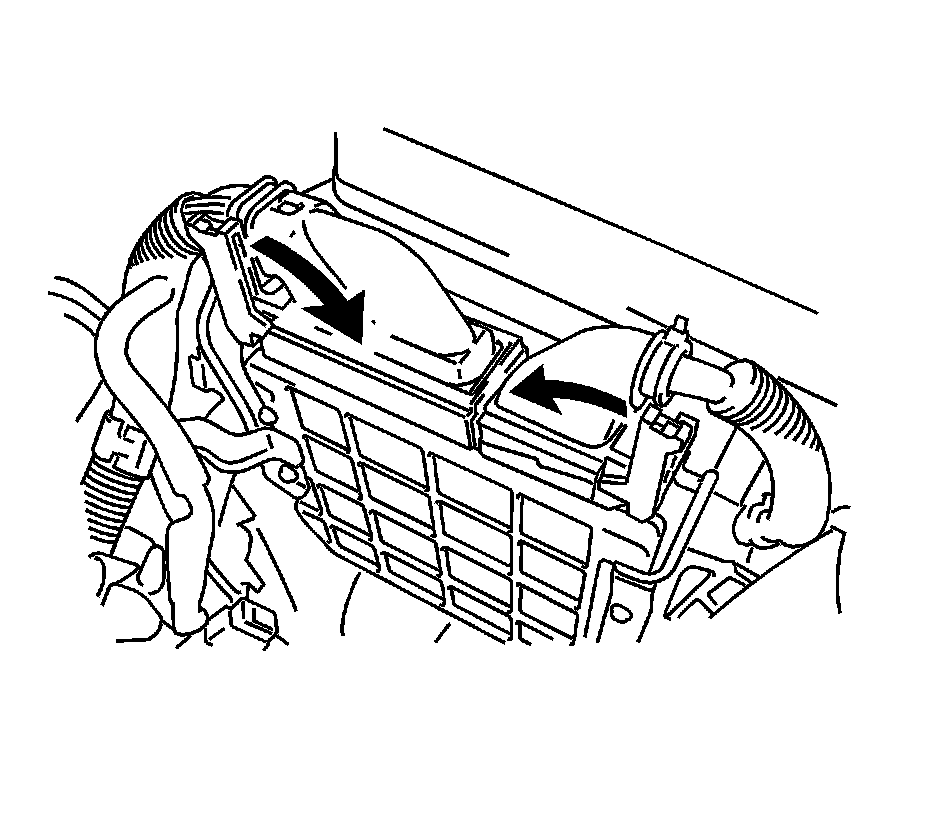
3. Remove the air cleaner cap sub-assembly with hose.
4. Remove the air cleaner case.
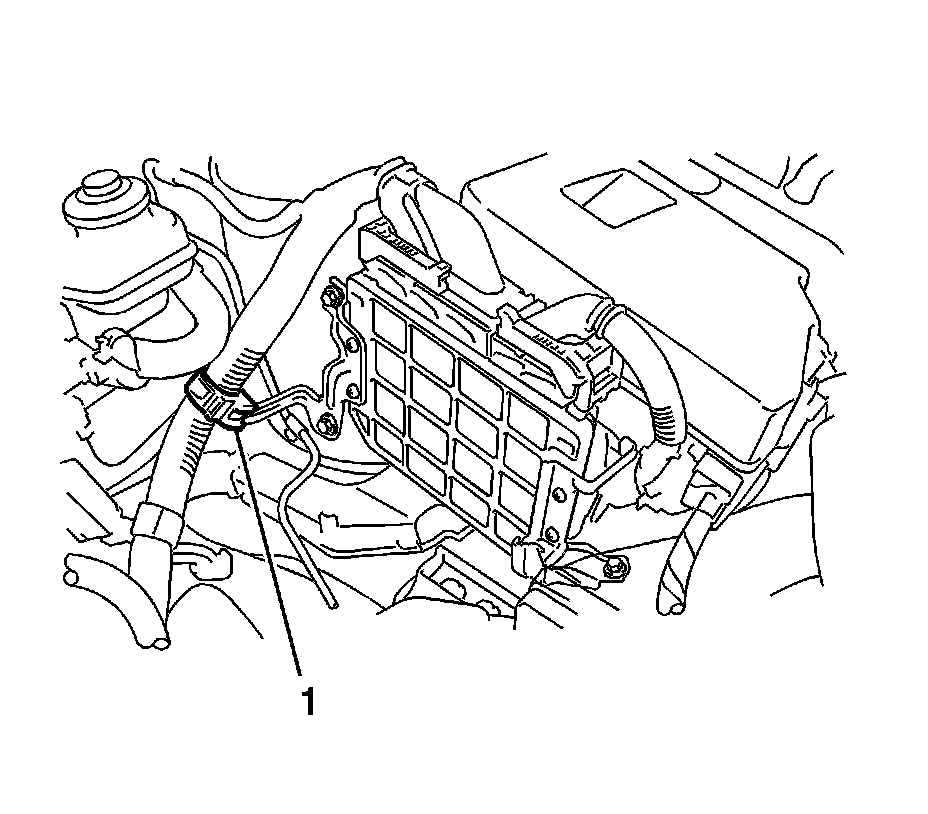
5. Separate the wire harness clamp (1).
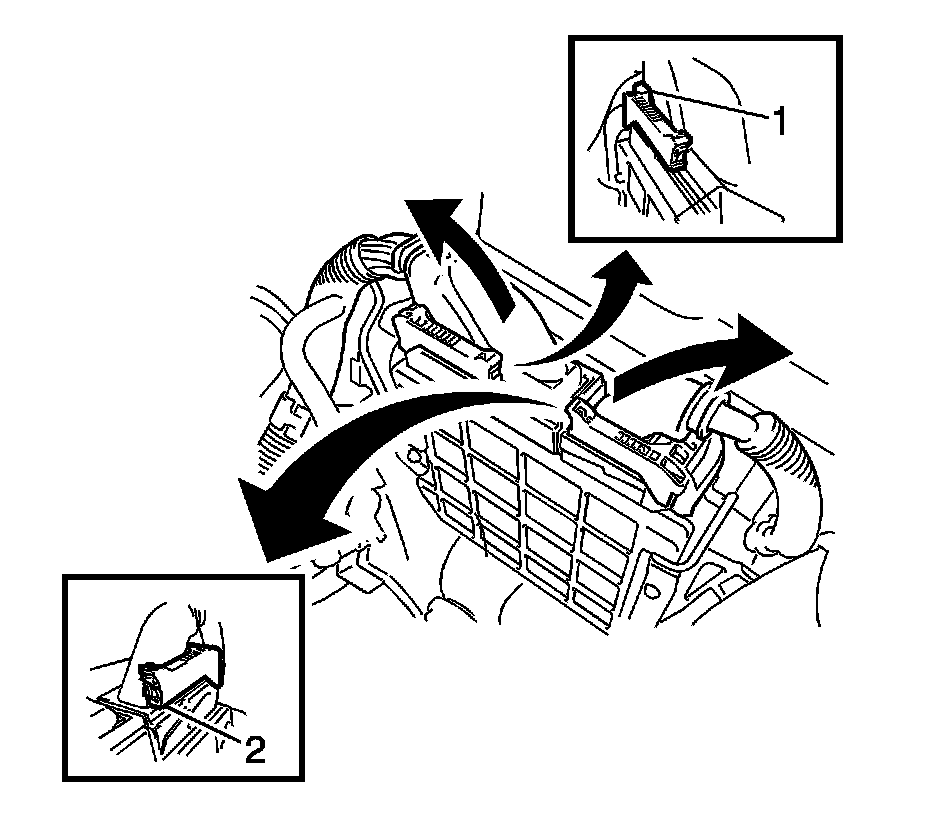
6. Push the locks on the 2 levers (1, 2), then raise the levers, and disconnect the 2 ECM connectors.
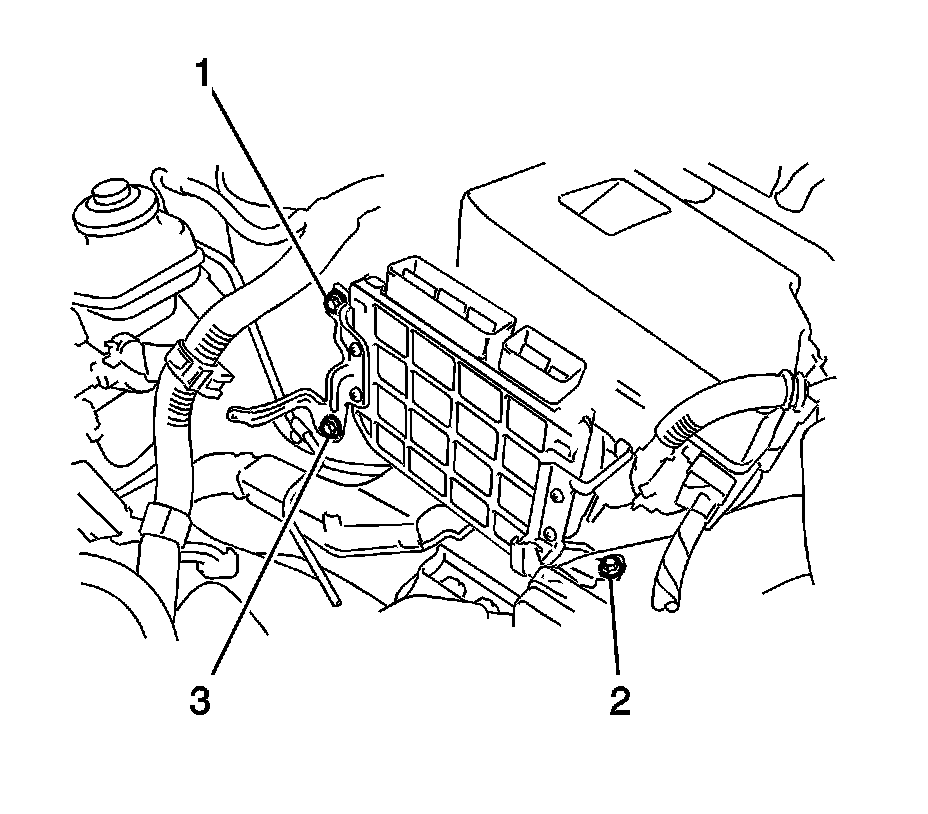
7. Remove the 3 bolts (1, 2, 3) and the ECM.
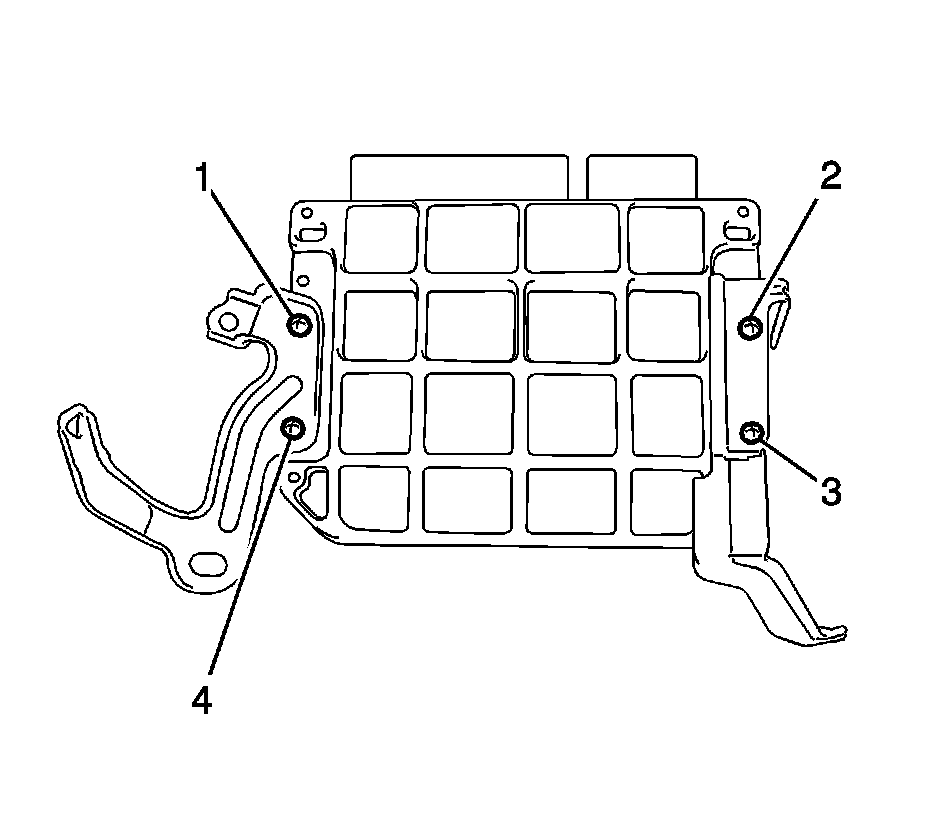
8. Remove the 4 screws (1, 2, 3, 4) and the 2 ECM brackets.
Installation Procedure
1. Install the 2 ECM brackets onto the ECM with the 4 screws (1, 2, 3, 4).
Caution: Refer to Fastener Caution (Fastener Caution).
2. Install the ECM with the 3 bolts (1, 2, 3) and tighten to 8.0 Nm (71 lb in).
3. Connect the 2 ECM connectors and lower the 2 levers.
4. Install the wire harness clamp (1).
5. Install the air cleaner case.
6. Install the air cleaner cap sub-assembly with hose.
7. Install the engine cover. Refer to Engine Cover Replacement (Service and Repair)
8. Connect cable to battery negative terminal.
9. Perform REGISTRATION (VIN registration) when replacing the ECM. Refer to Control Module References (Programming and Relearning)