Headliner: Service and Repair
Head Lining Removal And InstallationRemoval
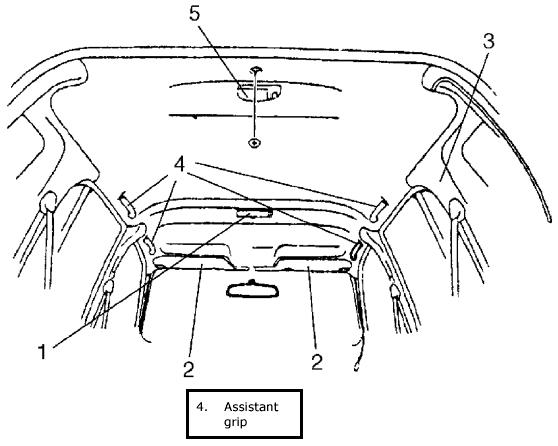
1. Remove spot light.
2. Remove sunshade assembly (2).
3. Remove room light (1) and spacer.
4. Remove assistant grips (4).
5. Remove inner trims (3) covering head lining and door opening trim.
6. Remove rear room light (5), spacer and speaker cover.
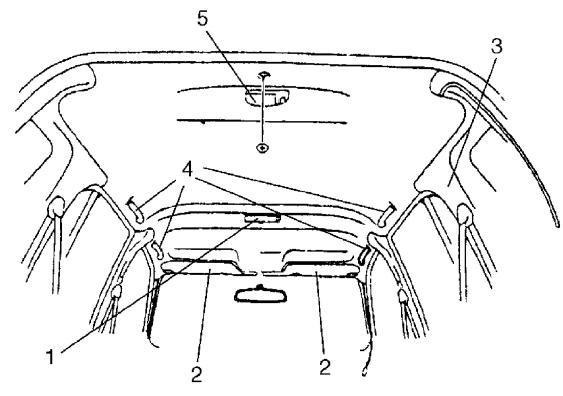
7. Disconnect rear washer hose and roof harness from body.
8. Remove head lining.
NOTE: Adhesive double coated tape is used to attach rear part of head lining. Detach head lining from roof after removing all above parts.
Installation
1. Set roof harness (1) and rear washer hose (2) to head lining with adhesive tape (3).
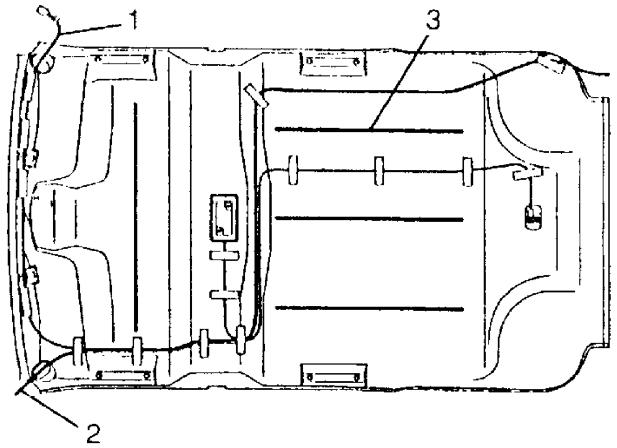
2. Clean roof where adhesive tape of head lining will be attached.
3. Peel off release liner of adhesive tape on head lining and install it to body.
4. Install assistant grips a, b, c and d in that order.
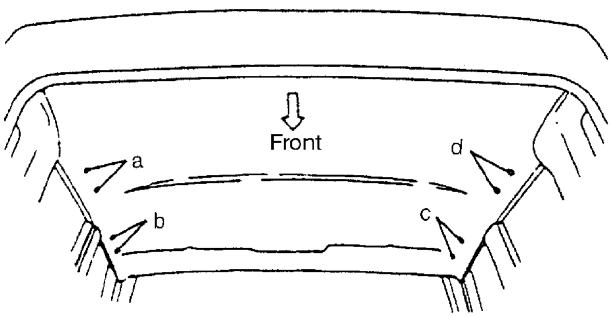
5. Install door opening trim (1).
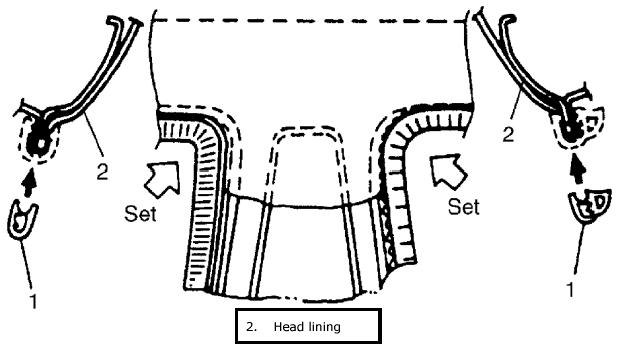
6. Install spot light, sunshade assembly (2), rear room light (5), speaker cover, room light (1) and inner trims (3) covering head lining.