Transmission Cooler: Service and Repair
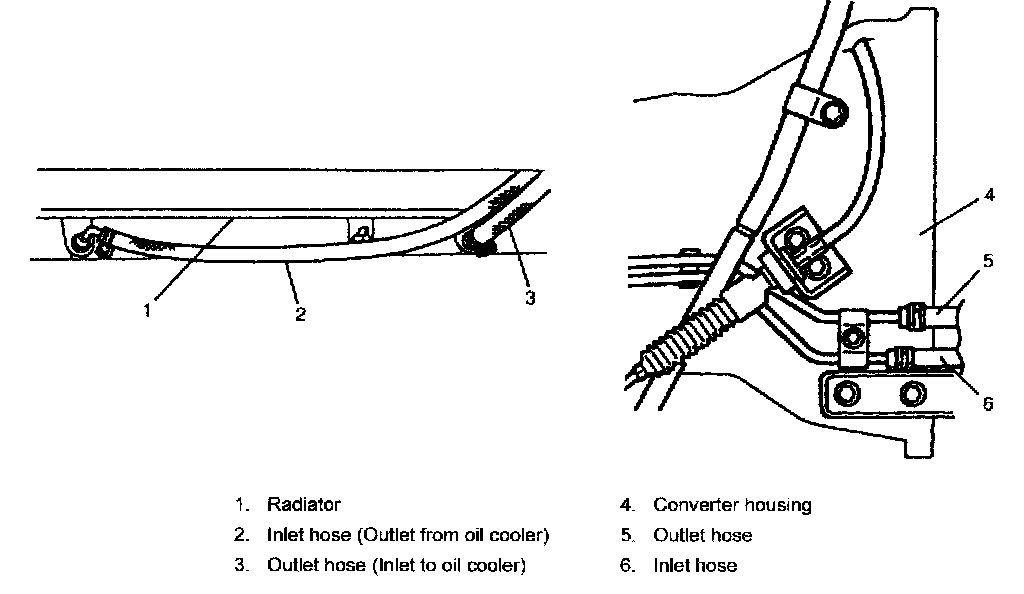
Oil Cooler Hose and Pipes Removal and InstallationRemoval
1) Lift up vehicle.
2) Make sure to wash dirt off from around pipe joints.
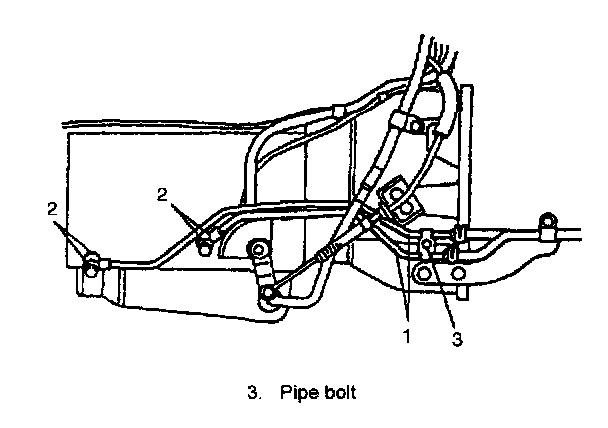
3) With engine is cool, loosen oil cooler pipe union bolts (2) with oil outlet union locked and remove oil cooler pipes (1) from oil outlet unions and hoses.
NOTE: To avoid fluid leakage, plug open ends of oil outlet unions and hoses right after they are disconnected.
Installation
When replacing them, be sure to note the followings.
^ to replace clamps at the same time
^ to insert hose as far as its limit mark
^ to clamp hose securely
1) Use new union gaskets (2) and connect oil cooler pipes (1) to oil outlet unions.
2) Connect hoses to pipes and clamp them securely.
3) Tighten union bolts to specified torque with oil outlet union locked.
Tightening torque
Oil cooler pipe union bolt (in case copper base alloy gaskets (bronze in color) are used) (a): 35 Nm (3.5 kgf-m, 25.5 ft. lbs.)
Tightening torque
Oil cooler pipe union bolt (in case rubber coated steel gasket (black in color) are used) (a): 25 Nm (2.5 kgf-m, 18.0 ft. lbs.)
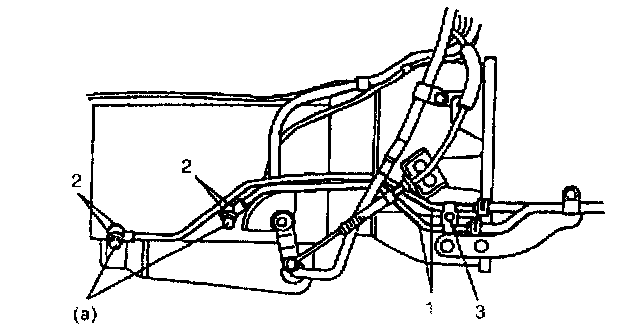
4) Tighten pipe bolt (3) securely.
5) Check A/T fluid level according to procedure. Add if necessary.
6) Check for fluid leakage after warming up A/T.