Procedures
HEAD LINING REMOVAL AND INSTALLATIONRemoval
1. Remove spot light assembly (1), if equipped.
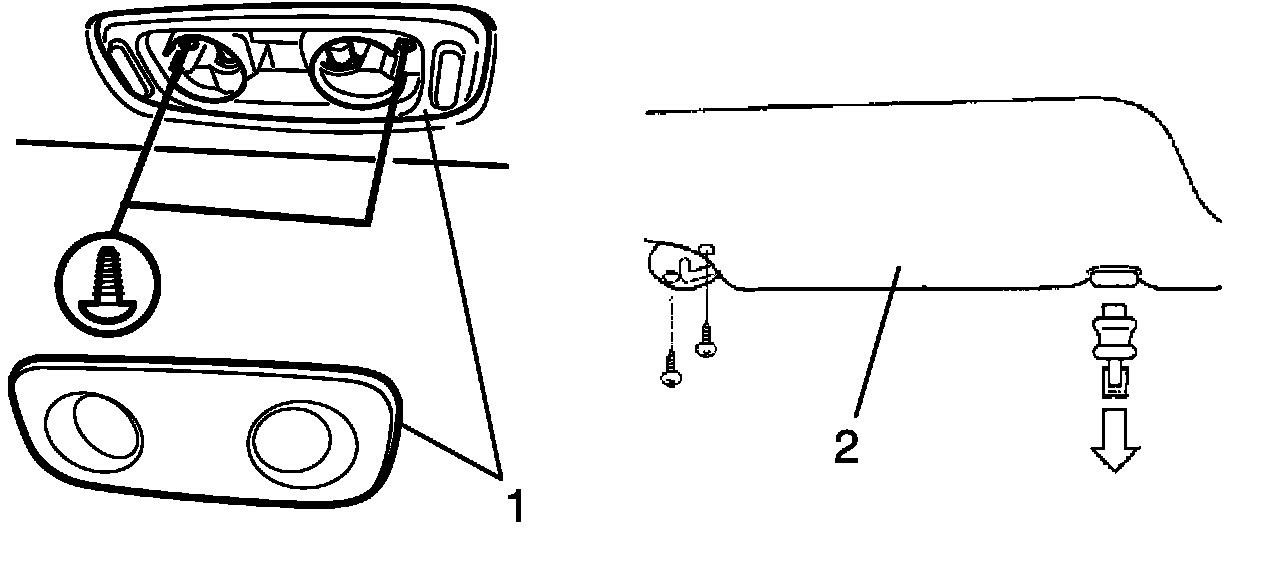
2. Remove sun visor (2).
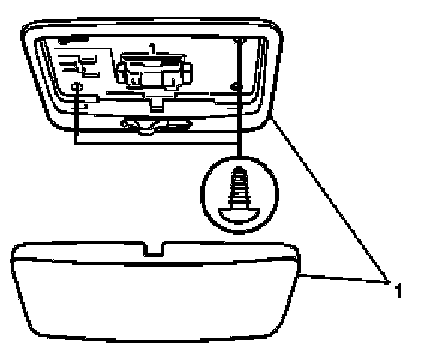
3. Remove dome light assembly (1).
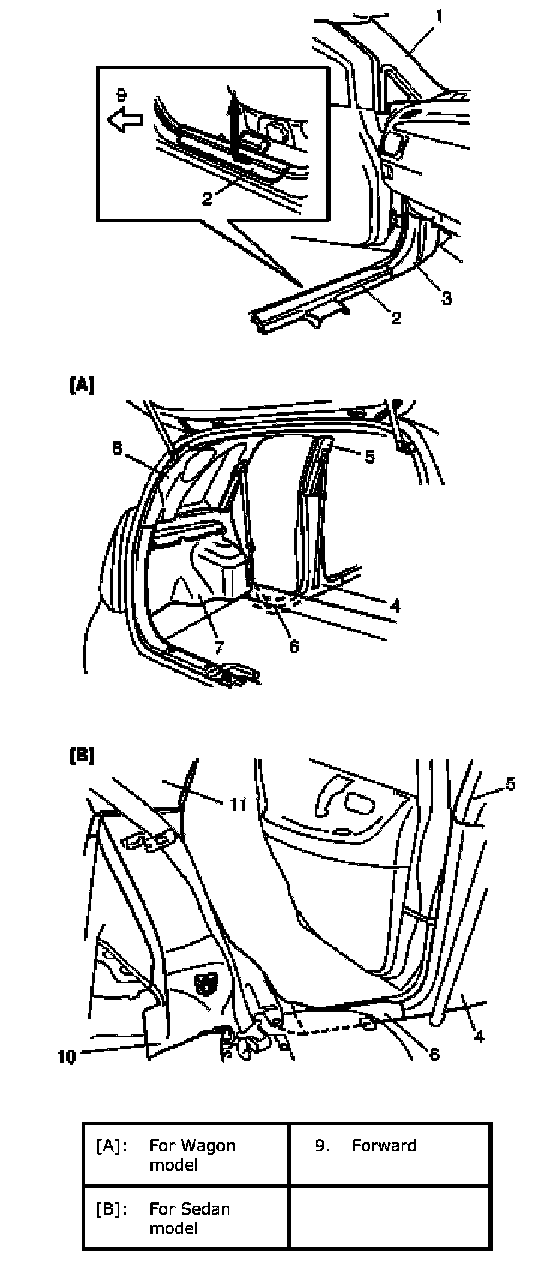
4. Remove front pillar trim (1), front side sill scuff (2), dash side trim (3), center pillar inner trim (4), center pillar inner upper trim (5), rear side sill scuff (6), quarter inner trim (7), quarter window trim (8), rear side lower trim (10) and rear side upper trim (11).
5. Remove rear center seat belt upper anchor (1) and cover (2) (for wagon model).
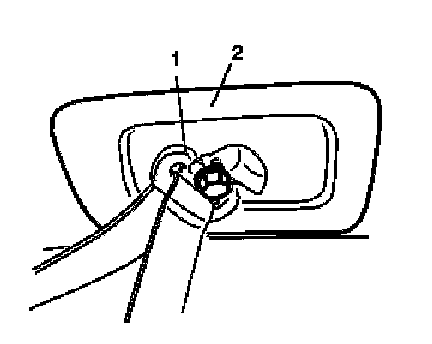
6. Remove assistant grip (1).
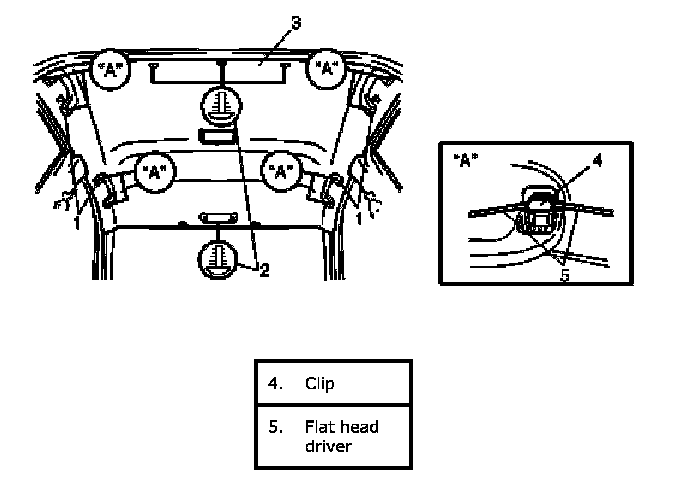
7. Remove head lining clips (2) and remove head lining (3).
Installation
Reverse removal procedure noting the following.
- Tighten sun visor screw to specified torque.
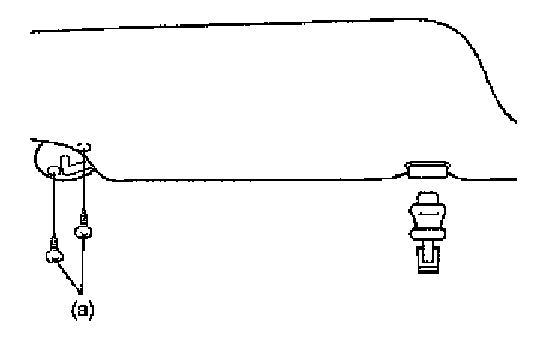
Tightening torque
Sun visor screw a: 4 N.m (0.4 kg-m, 2.8 lb-ft)
- Tighten rear center seat belt upper anchor bolt to specified torque.
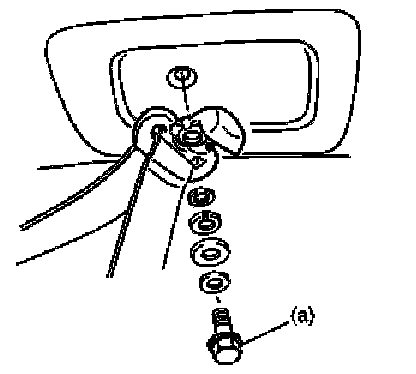
Tightening torque
Rear center seat belt upper anchor bolt a: 35 N.m (3) 5 kg-m, 25.5 lb-ft)