Installation
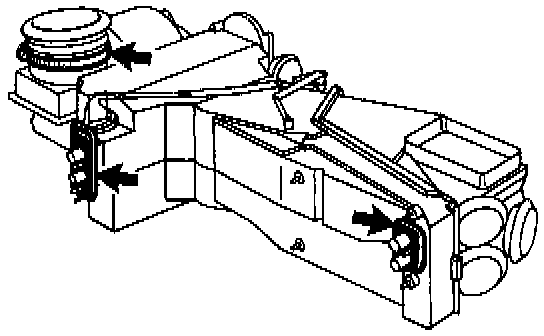
1. Ensure that foam rubber seal and plate washer are in place before climate unit is lifted into position. Check both at heater and evaporator.
2. Check that rubber gaiter is securely clamped at air intake.
3. Install heater and defroster ducts.
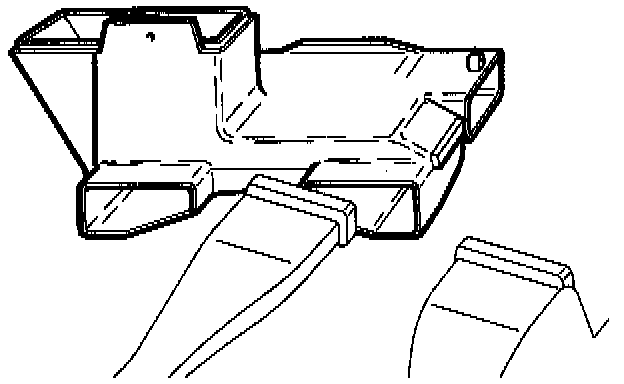
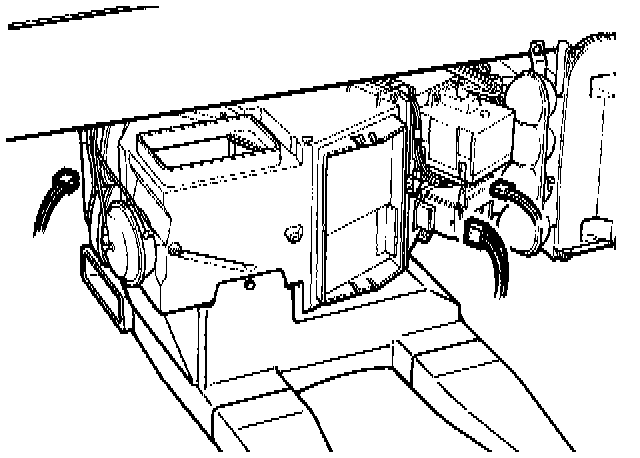
4. Place air distribution box in temporary position.
5. Lift in climate unit from right-hand side. Fit air distribution box and climate unit together.
- Attach air vents to box.
- Install knee bolster bracket.
6. Attach:
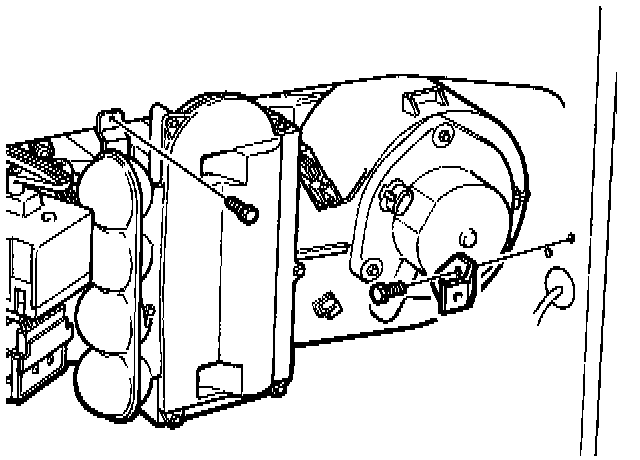
- unit to mounting above vacuum tank
- bracket to right-hand A-post.
7. Install relay board bracket. Do not forget to connect ground rail to front screw of bracket.
8. Install relay board.
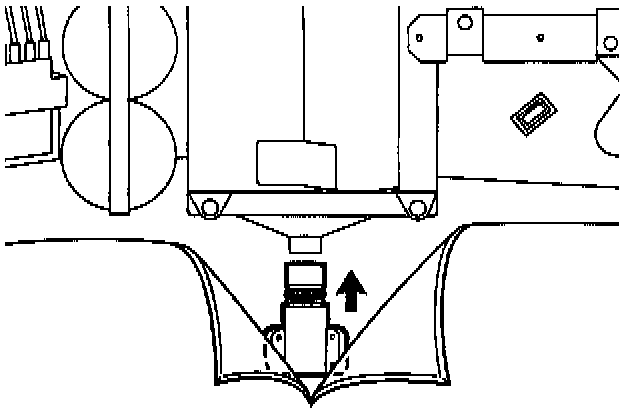
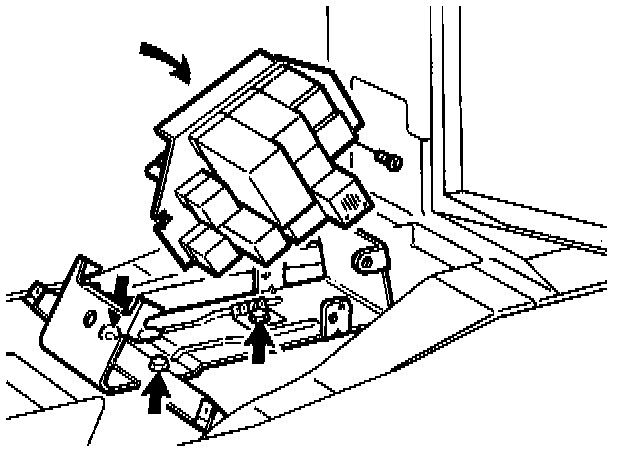
9. Install evaporator drain.
10. Reconnect leads to:
- coolant temperature sensor
- servomotor
- solenoid valves.
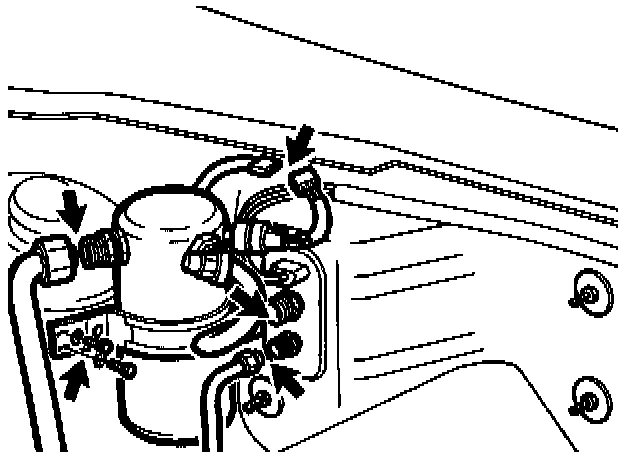
17. Install/reconnect:
- air receiver on suspension strut tower
- refrigerant hoses to evaporator and air receiver
- connector.
- Torque for refrigerant hoses
18. Install dashboard.
19. Fill system with refrigerant.