Lateral Link Replacement (Rear)
Lateral Link Replacement (Rear)
Removal Procedure
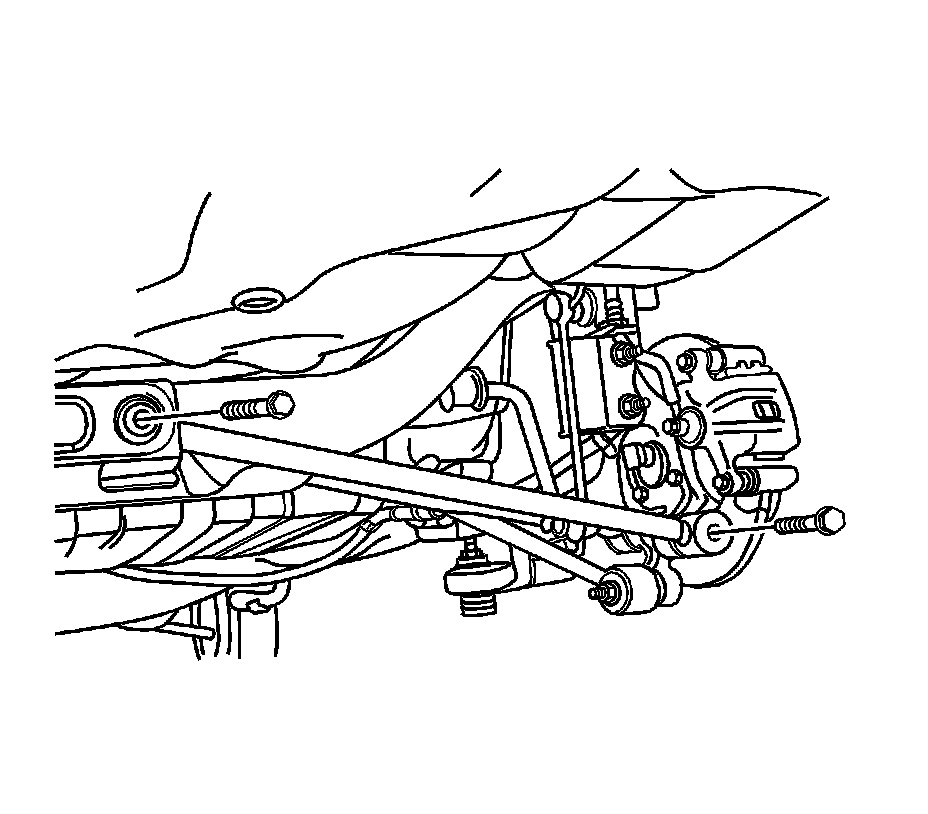
1. Raise and suitably support the vehicle. Refer to Lifting and Jacking the Vehicle Service and Repair.
2. Remove the wheel. Refer to Tire and Wheel Removal and Installation Service and Repair.
Important: Before removing the parallel link-to-crossmember bolt, mark the position of the adjuster cam in relation to the parallel link and the crossmember. This adjuster cam must be placed in the same position when the parallel link is installed on the vehicle to maintain the proper rear toe.
3. Remove the rear parallel link bolt from the rear crossmember.
4. Remove the rear parallel link bolt from the rear knuckle.
5. Remove the rear parallel link.
Installation Procedure
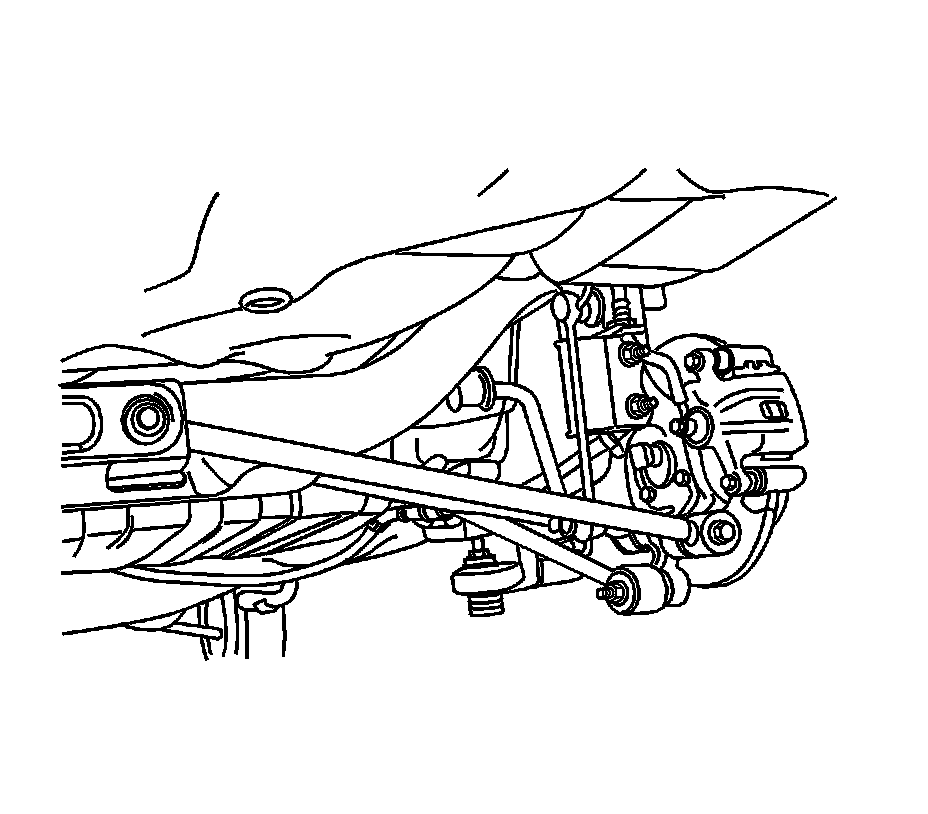
1. Install the rear parallel link.
Notice: Refer to Fastener Notice Fastener Notice.
2. Install the rear parallel link-to-knuckle bolt.
Tighten the rear parallel link-to-knuckle bolt to 120 Nm (89 lb ft).
3. Install the rear parallel link onto the rear crossmember. Install the rear parallel link-to-crossmember bolts.
Tighten the rear parallel link-to-crossmember bolt to 90 Nm (66 lb ft).
4. Install the wheel. Refer to Tire and Wheel Removal and Installation Service and Repair.