Trailing Arm Bracket Replacement
Trailing Arm Bracket Replacement
Removal Procedure
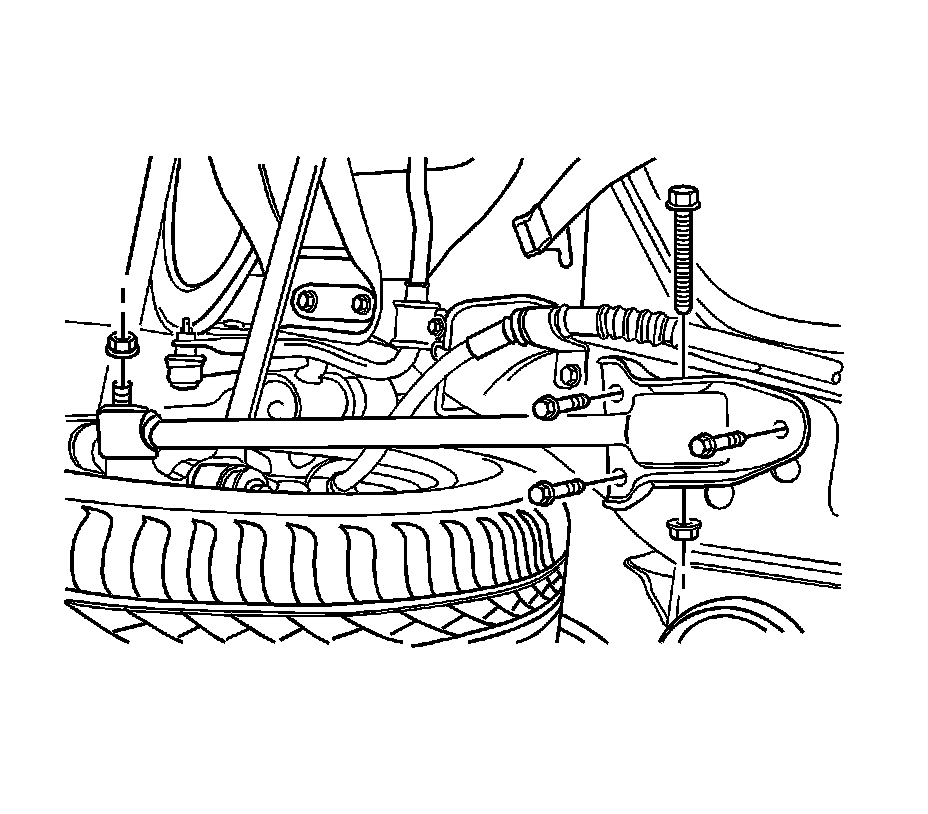
1. Raise and suitably support the vehicle. Refer to Lifting and Jacking the Vehicle Service and Repair.
2. Remove the trailing link-to-trailing link bracket nut and the bolt.
3. Remove the trailing link bracket-to-body bolts.
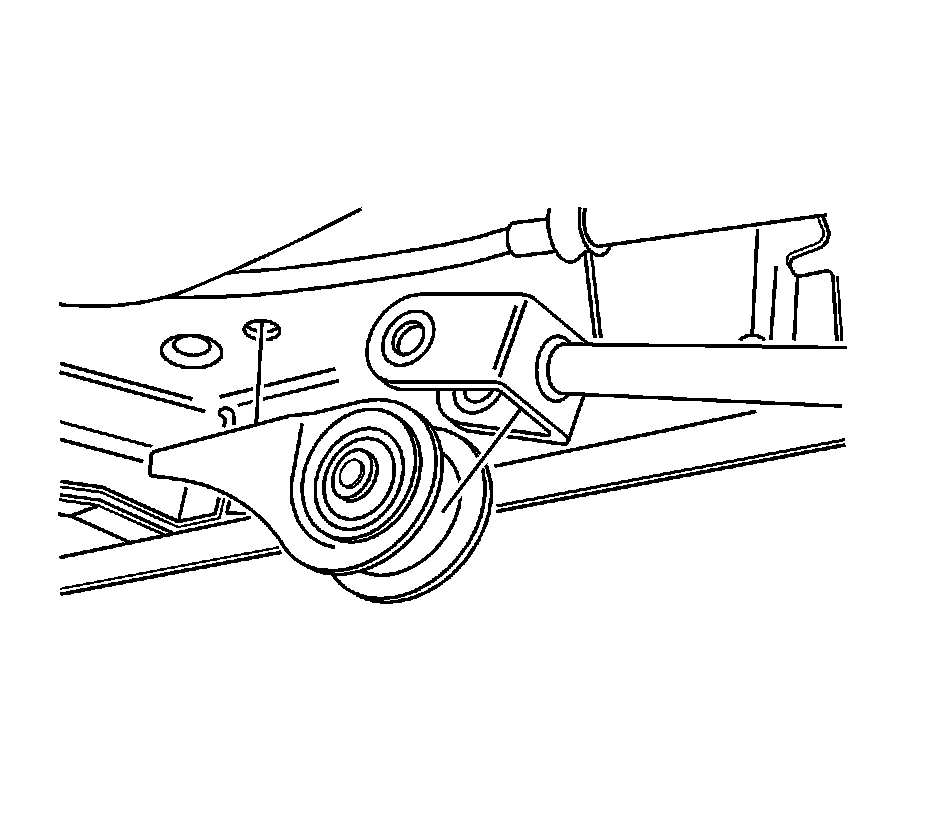
4. Remove the trailing link bracket.
Installation Procedure
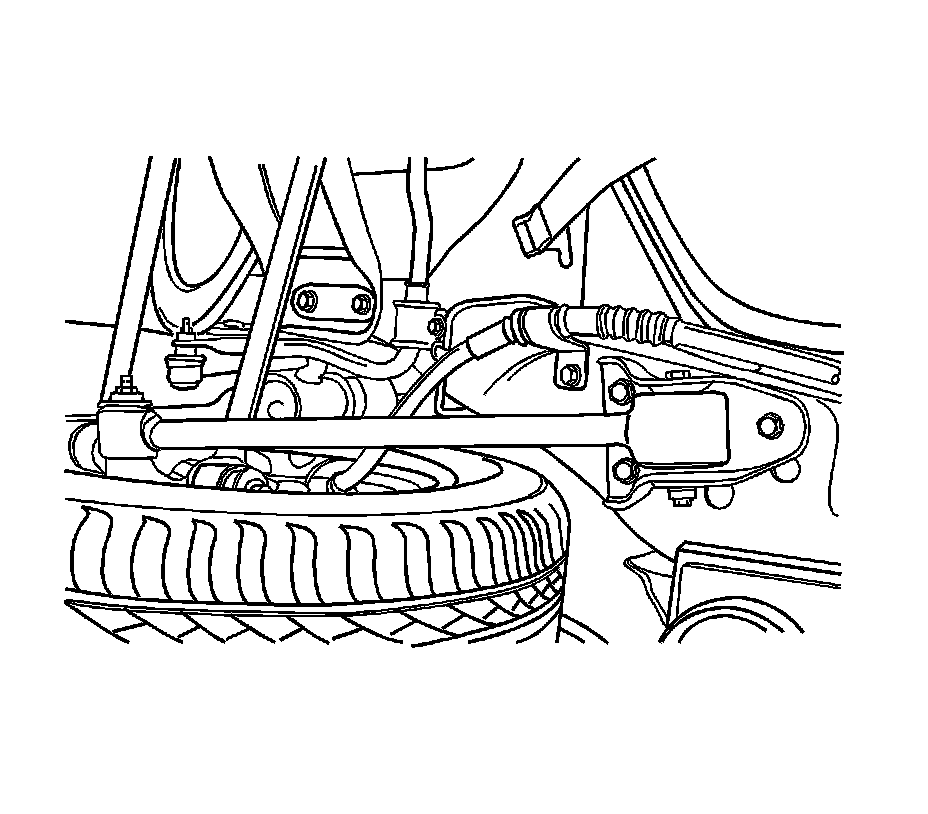
1. Install the trailing link bracket.
Notice: Refer to Fastener Notice Fastener Notice.
2. Install the trailing link bracket-to-body bolts.
Tighten the trailing link bracket-to-body bolts to 70 Nm (52 lb ft).
3. Connect the trailing link to the trailing link bracket by installing the trailing link-to-trailing link bracket nut and bolt.
Tighten the trailing link-to-trailing link bracket nut to 100 Nm (74 lb ft).
4. Lower the vehicle.