Expansion Valve: Service and Repair
Thermal Expansion Valve Replacement - Auxiliary
REMOVAL PROCEDURE
1. Check the following:
2. Check for air flow from the rear ducts.
3. Discharge and recover the refrigerant from the system. Refer to Refrigerant Recovery and Recharging.
4. Check the rear air conditioning tube inlet cold on one side hot on the other.
5. Replace the Theorem Expansion Valve (TXV).
6. Remove the evaporator core.
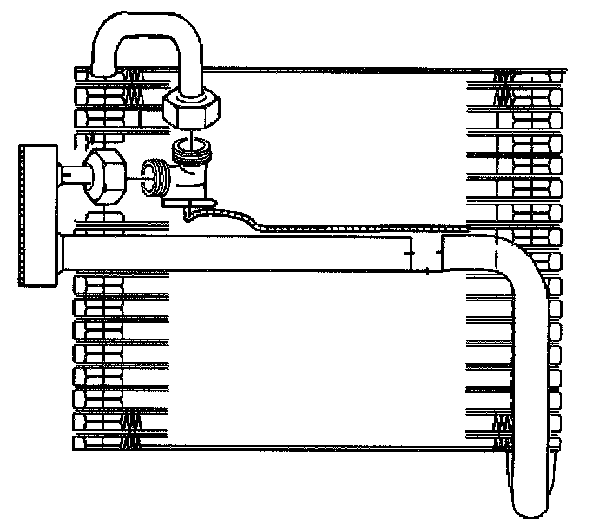
7. Gently remove the sealer packed around the Thermostatic Expansion Valve (TXV).
IMPORTANT: Note the mounting location and the orientation of the capillary tube on the evaporator core.
8. Remove the clip that retains the capillary tube to the evaporator core.
9. Remove the nuts that retain the TXV to the evaporator core.
10. Remove the TXV from the core.
INSTALLATION PROCEDURE
1. Install the TXV to the core.
NOTE: Refer to Fastener Notice in Service Precautions.
2. Install the nuts that retain the TXV to the evaporator core.
Tighten
Tighten the nuts that retain the TXV to the evaporator core to 5 N.m (44 lb in).
IMPORTANT: Install the retaining clip and the capillary tube in the location and the orientation that was noted during disassembly.
3. Install the capillary tube and the retaining clip to the evaporator core.
4. Pack the sealer around the TXV as found during disassembly.
5. Install the evaporator core.
6. Evacuate and charge the system. Refer to Refrigerant Recovery and Recharging.