|
ac5wzw00013207
REAR CONSOLE REMOVAL/INSTALLATION
id091700898500
1. Disconnect the negative battery terminal. (See NEGATIVE BATTERY TERMINAL DISCONNECTION/CONNECTION.)
2. Remove the following parts:
3. Using a remover tool, detach the clips in the order of arrows (1) and (2) shown in the figure.
ac5wzw00013207
|
4. Move the console-up in the direction of arrow (3) shown in the figure and detach the clips.
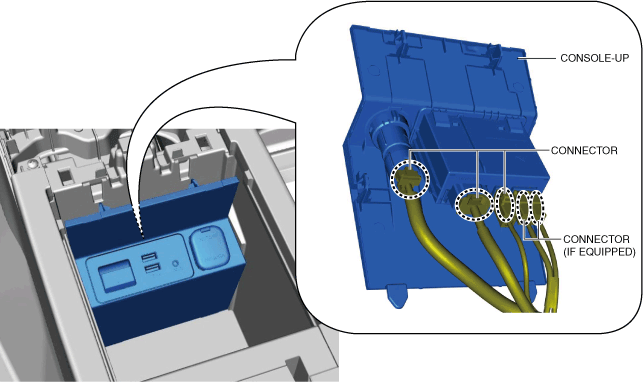
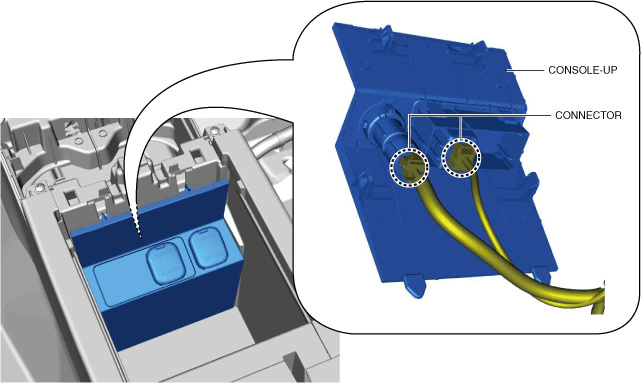
5. Disconnect the connectors.
With center display
ac5wzw00013208
|
Without center display
ac5uuw00005539
|
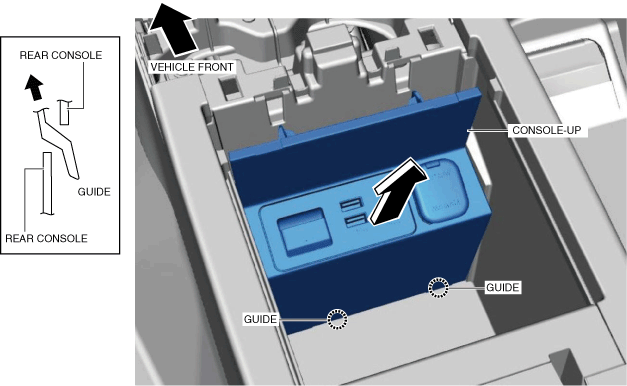
6. Move the console-up in the direction of the arrow shown in the figure, detach the guides from the rear console, and remove the console-up.
ac5wzw00013209
|
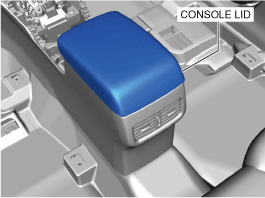
7. Close the console lid.
ac5uuw00005322
|
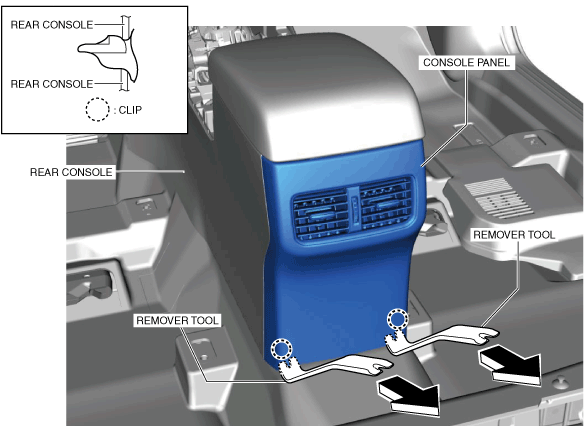
8. Insert the remover tool into the position shown in the figure, move it in the direction of the arrows, and detach the clips.
ac5wzw00013210
|
9. Move the console panel in the order of arrows (1), (2), (3), and (4) shown in the figure, and detach the clips.
ac5wzw00013211
|
10. Remove the console panel from the rear console.
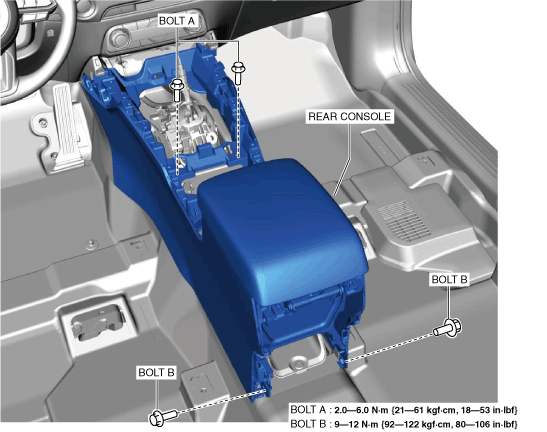
11. Remove bolts A and bolts B.
ac5wzw00011196
|
12. Move the rear console in the direction of the arrows shown in the figure, detach the clips and guides from the center lower panel, and remove the rear console.
ac5wzw00013212
|
13. Install in the reverse order of removal.