 |
amxzzw00004107
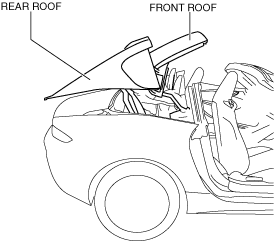
REAR ROOF LINK ASSEMBLY REMOVAL/INSTALLATION
id091600105000
1. Using the retractable hardtop switch, keep the rear roof open.
amxzzw00004107
|
2. Disconnect the negative battery terminal. (See NEGATIVE BATTERY TERMINAL DISCONNECTION/CONNECTION.)
3. Remove the following parts:
4. Remove the seat belt retractor installation bolts and set aside the seat belt retractor. (See SEAT BELT REMOVAL/INSTALLATION.)
5. Remove the side shelf and the rear side trim as a single unit. (See SIDE SHELF REMOVAL/INSTALLATION.)
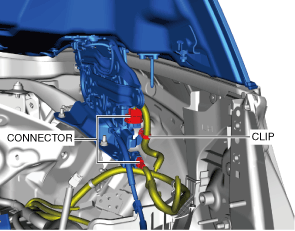
6. Disconnect the connectors.
amxzzw00004626
|
7. Remove the clip.
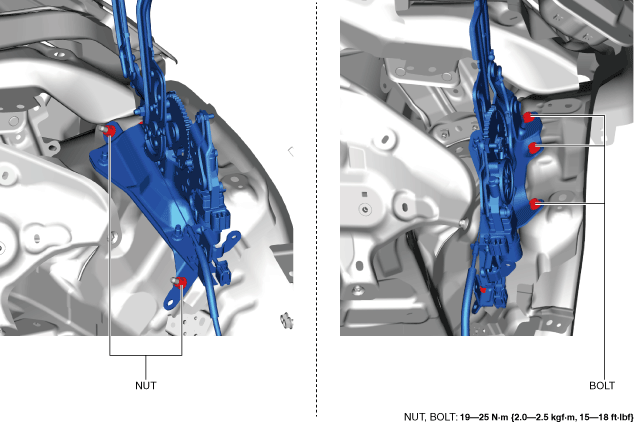
8. Remove the bolts.
amxzzw00004627
|
9. Remove the nuts.
10. Remove the rear roof link assembly.
11. Install in the reverse order of removal.
12. Perform the retractable hardtop adjustment. (See RETRACTABLE HARDTOP ADJUSTMENT.)