 |
am6zzw00016807
TRUNK SIDE UPPER TRIM REMOVAL/INSTALLATION
id091700803200
1. Disconnect the negative battery terminal. (See NEGATIVE BATTERY TERMINAL DISCONNECTION/CONNECTION.)
2. Remove the following parts:
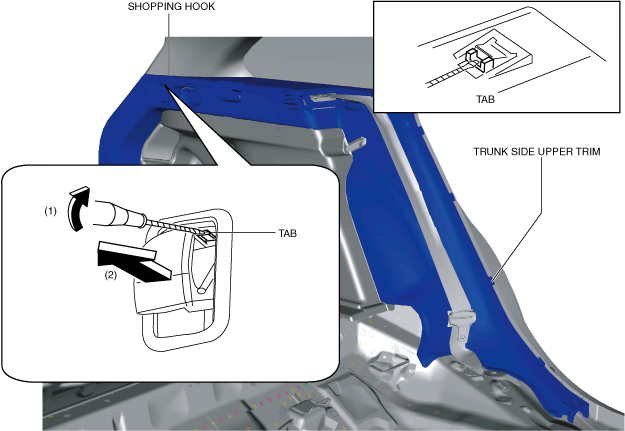
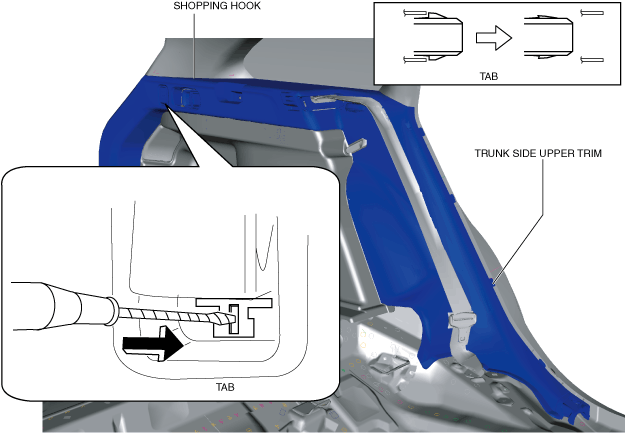
3. Press the tab as shown in the figure using tape-wrapped flathead screwdrivers, and remove the tab.
am6zzw00016807
|
4. Insert a tape-wrapped flathead screwdriver into shown in the figure and remove tab in the direction of arrow (1).
am6zzw00016808
|
5. Remove the shopping hook in the direction of the arrow (2) shown in the figure.
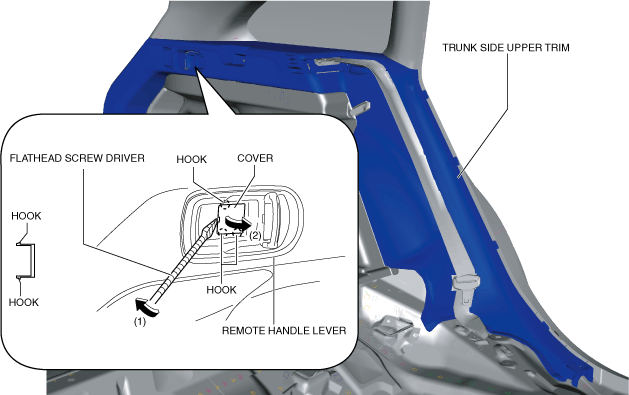
6. Insert a tape-wrapped flathead screwdriver into shown in the figure and remove hooks in the direction of arrow (1).
am6zzw00016809
|
7. Remove the cover in the direction of the arrow (2) shown in the figure.
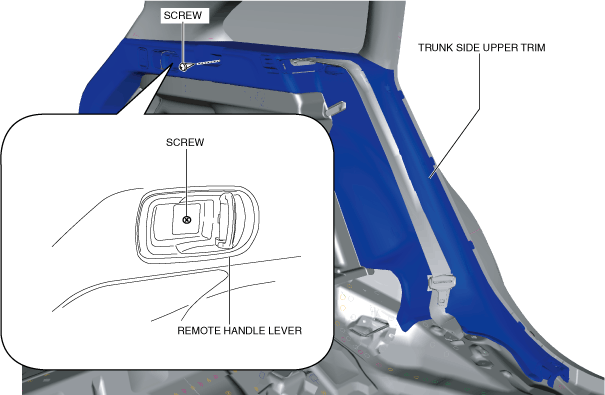
8. Remove the screw.
am6zzw00016810
|
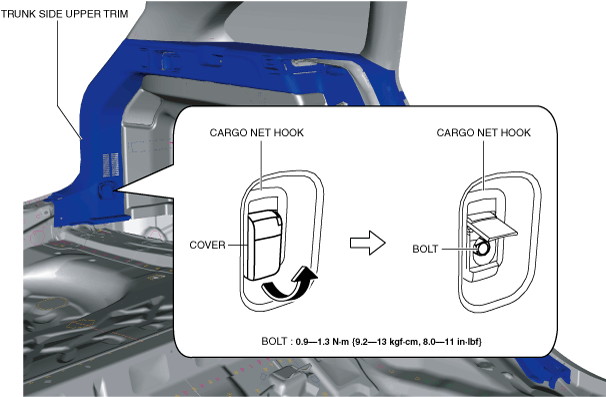
9. Open the cover in the direction of arrow shown in the figure.
am6zzw00016811
|
10. Remove the bolt.
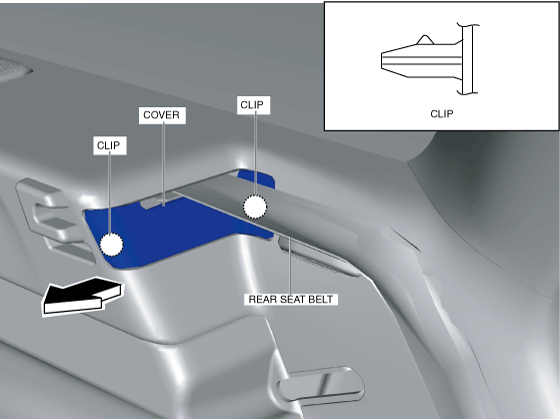
11. Remove the cover in the direction of arrow shown in the figure while detaching clips.
am6zzw00016812
|
12. Set the rear seat belt aside.
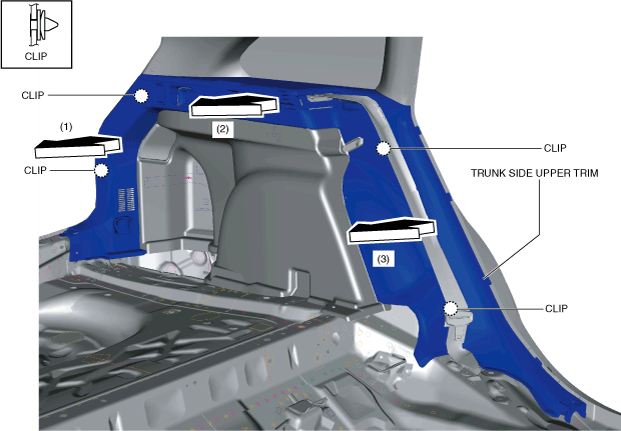
13. Pull the trunk side upper trim in the direction of the arrow in the order of (1), (2), (3) and remove it while detaching clips.
am6zzw00016813
|
14. Install in the reverse order of removal.